Thursday, January 31, 2013

V and Co: dresden plates

 there's no secret i have a thing for dresden plates. and where i don't have a quilt made out of dresden plates, i do like the make them and one of my favorite places to put them is on cute little pouches.

after i posted this picture of my little sewing pouch with the dresden plate made out of simply color, you guys exploded my email inbox with questions about it.

and then i posted this picture:

also a dresden plate only a very large dresden plate. and using my dot fabric from simply color.
and if i thought my inbox exploded the first time, i was wrong.
you guys had a ton of questions on the fabric, the size, tools to make it and so forth.

 so here's the deal. i just made another little pouch to give as a gift and i thought. duh i should have taken pictures of how to make the dresden on this.

this time instead of doing a circle in the middle i added a hexagon. LOVE IT.
and now, here i am telling all of you...i'm going to show you how to make different sizes and different middles and give you suggestions on where to put your dresden plates.
so this next month randomly i'll do in between other things how to's on dresdens.
okay?
okay.
now if you'll excuse me, i am 94 percent done with my new patterns so i can place them in my shop. i have 5 new patterns. yes, 5... this next fabric line was fun to work with...i have waaaaay more i'd like to do with it...but i couldn't fit it all in cause there are only 24 hours in the day and i have little noisemakers that keep asking me to be their mother and feed them and crap like that. i am really excited to show them all to you. and in the next couple of weeks i will.
okay but for now that 6 percent needs to be taken care of so we'll talk soon.
and watch for the dresden plates and watch for a few block of the months that i'm part of! all in the month of february.
we'll talk soon!

Monday, January 28, 2013

V and Co: how to: french knot heart pin cushion


pincushions can be a little bit like an extension of you and what your style that gets to hang out with you while you sew at home and travels with you when you sew at someone else's house or at a quilt group. 
so why not make it adorable right?
some of you don't know this but before i used to make quilt and bag patterns i used to make embroidery patterns.
that was my first love...and i feel like i've neglected it for quite some time. so the other day i decided to get out some lovely embroidery floss:
 from sublime stitching  and i wanted to make something that made me happy that i could carry with me while i do what i love. so a pincushion it would be. ...but what to make?
i though a big V would be cute. and then i thought a heart. and with my favorite stitch the french knot.
i love how the french knots give you texture, and i love how when you put a lot of them together it looks fluffy. so i started to make my pin cushion.
here are the steps to make the same little pincushion if you so incline, and here are the steps to learn to make a french knot. maybe we'll make something else with this little knot later on, but for now lets make a whole mess of them okay? okay!!!

what you'll need:
 -embroidery floss: i chose from the flower box collection # 804
-1 square cut to 4" x 4" of linen, muslin, or any cotton fabric. mine was linen.
-1 square of fabric for your back cut to same size.
-1 square of batting placed behind your linen (same size as linen and back)
- pincushion filler (crushed walnut shells, sawdust, crushed clamshells...and so forth) i used walnut shells.
-1 small square of paper folded in half with half a heart drawn on it. (just like you did in elementary school!!)
-washable pen to mark your heart.
-needle large enough to let your thread (2 floss threads of the 6) fit through the head.
 -first cut out your heart and then use it as a template to draw your perfect little heart. (hint: if you fold in half your linen and press with your fingers to make a crease you can see where the middle of your square is and where you will need to place your heart.
 -next i took a close up picture of the embroidery thread with two of the 6 threads pulled from the bunch. i normally use two threads when embroidering but i do use one at time as well.
for this project we are using 2 threads.
normally you would use a hoop when you do embroidery but for this little project i didn't feel the need to use a hoop.
-thread your needle and make a knot at one end.
-come up through the batting and linen so that your needle comes up right at the point of the bottom of the heart.
-pull the thread all the way through till it catches on the knot you put at the end of the thread.
-next we are going to do three loops around the tip of your needle like the picture above. 
 -carefully place the needle tip right next (almost on top of) where you came up through the fabric.
-with your left thumb (if you are right handed.) secure the extra thread so the loops do not unravel as you push the tip of the needle through the fabric.
 -as you gently pull the needle through and have all the thread follow through the center of your loops a knot will appear.
-you just made your first french knot.
now we're gonna make a whole slew of them...so many you'll become an expert on french knots after this little project!
 -next you are going to come up next to your first knot you made. and you are going to repeat the steps you just did to make the first knot.
 -if you end up with a few gaps here and there don't worry you can alway go back and fill it in with another knot. i like to do the really close so that i don't have to go back and fill them in. :) but remember i have a lot of practice in the french knot department!
 -continue to make knots around your drawn heart outline.
 -here's your out if you want. see you've already made such a cute little heart in french knots that if you are already tired of making them you can at least say it looks like a heart. that's why i alway outline first. well that and it makes it easier to stay inside when you fill it in with more knots.

-okay if you have not had enough and think you wanna keep making the knots so you can have an equally as awesome little heart like mine...

continue to make knots till you wanna swear like a drunken sailor that you never want to make any more knots again.

 no really, i like making these, so i don't curse while i make them, i find it therapeutic to make it while watching tv. also it gives me something to do while i suffer through the TV shows my husband likes and i don't.
 okay now lets make this little guy into a pincushion shall we?
-with right sides together place your back fabric (featured here is simply style, my new line to hit stores in july 2013) and your linen with the heart making sure that all four sides are nicely placed on top of each other.
 -take it to your sewing machine and with your 1/4" foot (in BERNINAworld it's the #37 foot) sew all three sides down.
-on the fourth side leave an opening around 2 1/2" wide (backstitched at each side of the opening) so you can easily turn it inside out and fill with your pincushion filling.
-turn inside out, putt out the corners with a pin and stuff with your filler as much as you can
-pinch closed and then hand sew your opening shut. 
 and now you have an adorable little hand embroidered little pincushion that you will love to stare at even if you were swearing at how many little french knots it took to make it. :)

now go make one for yourself :) i'm going to make a couple more i think. they are just too cute and they would make great sewing friend gifts.
k.

i'm also making some other fun stuff here at home so i'll show it soon. :)
we'll talk soon!

Wednesday, January 23, 2013

V and Co: feeling valentine-y


i don't know what it is this year (okay starting like last summer) but i am like loving decorating for the holidays. oh i don't go too over the top, but i do want to make cute heart things and i love my heart plates i got at walmart last year for a dollar a pop.

and who can forget the adorable ombre bowls at target last year too?
i can't wait to make a little garland or something for the fireplace. maybe its that i'm finally feeling settled. 

nope, my house really isn't fully decorated (working on it slowly!). nope my house isn't fully organized yet (working on it slowly!) 
but for some reason i really want to at least acknowledge the holidays with a little here and there of decor or crafts or something. 

so i've been playing with these lovely embroidery floss by sublime stitching  cause who doesnt love cute names for embroidery floss and all the cool color packages they have. :) having fun with it! 

i'll post pictures when it's done hopefully by friday. (don't hold your breath maybe monday. but i'll shoot for friday!) then i'll give you guys a small tute on whatever it is i did. i mean if you can handle the cuteness that is :) oh and i've not forgotten that on facebook i got a lot of requests in showing how to use a zipper foot. sure! it's not that scary when you have the right tools (aka zipper foot and fusible tape and instructions!) 
okay peace out. or heart out. i'll continue to work on this little project and show you soon! yay for the holiday spirit! 

Monday, January 21, 2013

V and Co: sledding clark griswold style

i am finally seeing more and more of my sewing and work table. things keep getting done. yay!
but i'm going to take a break from sewing (for these next 45 minutes at least) to write about our sledding adventures we had over the winter holiday.

our family went sledding with another family. you know to have some wintery fun and crap like that. 
in our neighborhood we have a park with a BIG hill. during most of the year no one really talks about it or hangs out on it. it's just a hill. 
BUT, when winter's here and the snow comes that hill becomes "THE HILL" the mecca for sledders young and old. 
as the sun comes up you slowly start to see the hill peppered with new sledders, by midday the hill is a rocking, and by the end of the day you see at the bottom bits and pieces of carnage of broken sleds, missing mittens, and an occasional boot.

so basically, it gets really crowded.

so instead of wading through the sea of people on the top of the hill to find a slot to launch and then needing to maneuver the sled to dodge and weave between bodies, we opted to go to a more secluded place. where only a few (or dumb enough to do it) knew where to go. 

so we put all the sleds and bundled up kids in the car and we caravanned out about 30 minutes and made our way into a secluded area that looked pretty close to a forest. as we turned the last corner we saw the open area that was our destination. 

man that looks like a steep hill. i turn to the husband "does it look steeper than the one over by our house."
he shrugs, puts the car in park and we start to get out all the sleds and kids.
the boys and husbands have run up ahead and my friend and the girls put ourselves a little more together by tugging hats down, and pulling up mittens snugly. as we follow the two chattering girls we make a little bit of chit chat, and then my friend says "oh my gosh is that blood?" 
i look to see what she's looking at and sure enough as we continue to walk we see that we are seeing a trail of blood. 
where 
are 
we 
going?
right as i'm thinking this is a bad idea, we turn the corner and see only two other families and a few college age kids. 
too late now, cant turn back. 
the husbands are already up on top and we slowly make our way up the hill. the boys are having a blast whizzing by at optimum speed screaming "WHHOOOOOOHOOOO!!!" 
okay so it can't be that bad right?

when i finally get up to the top the husband looks at me smiling, holds up a sled and says "wanna go down with me?" 
for a split second it felt like we were kids and on a date i jumped all happily and said "OKAY!!!" huge grin smile.

i get on, the husband gets on behind me, puts his arms and legs around me and says "okay ready?"
i answer excitedly "YES!" 

and well i don't  know if it was because it was a new sled or if the husband sprayed oil on the bottom of the sled because the minute we let go to take off...

we were off like a shot.
i was screaming at the top of my lungs "WE'RE GONNA DIE!!!!"
and i swear my eyeballs were at the back of my head.
holding on for dear life we were half way there, and then we hit a little bump.
and well a little bump and two fully grown people, going around a bazillion miles an hour...you can imagine...we caught some air. and by some air i mean we were in the air and we were moving in slow-motion. we were twisting in the air and when we landed...
we kept going down the hill. (what did you think i was going to say we just stopped? nope)
we kept sliding down the hill at a super sonic speed but when we landed my husband's legs and butt somehow ended up wrapped up all over my shoulders and head.
the man's butt was litterally using my face as a sled...and my face was making a divot in the side of the hill. the.rest.of.the.way.down.

when we finally stopped the husband quickly untangled himself and grabbed my head and was frantic when he said "ARE YOU OKAY? VANESSA ANSWER ME! ARE YOU OKAY??"

as i looked up i started laughing so hard he was speechless.
the kids the kids the next day kept saying "hey remember when mom totally ate it on that hill?" "mom you were so funny!"

my body didn't think it was funny two days later though.  sewing hurt. pretty sure just lifting my arm 1/4" made me wince.

but it will go down in history as the year mom and dad went down the hill and dad used mom's head as a sled.
good times.
and no, it didn't stop me from going sledding ever again, i just haven't had the nerve to do it again... just yet.

Thursday, January 17, 2013

V and Co: look at all your pretty

hi there. :) so glad you like the new line. i like it too. :]
i have a few minutes today to breathe because my quilts aren't back from quilters and pretty much most of what i can do up to this point is done for the deadlines.
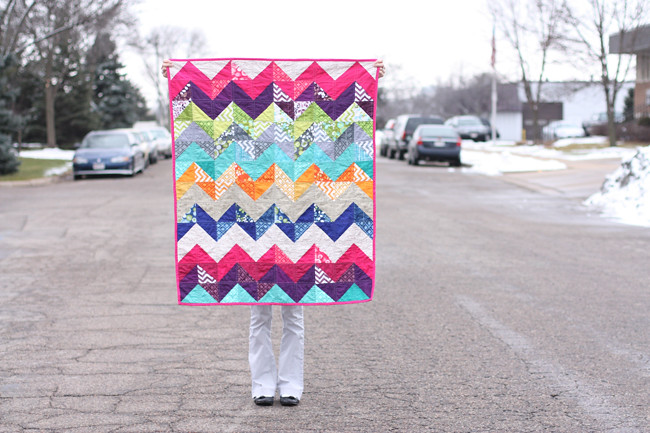
i wanted to show off a few of the lovely pictures that have been sent my way or that i've seen around the web. this lovely + quilt is made in simply color by candace over at made with love she made it for her husband. very lovely indeed!!

 i keep getting lots of cute little emails from all over the world saying "hey!!!! i have simply color in my neck of the woods!" and "off the beaten path i found your fabric at this cute little quilt shop!" one in particular is this insanely cute shop in GERMANY:
meet Grete's little shop in, as she describes: the middle of nowhere Germany. 
this adorable little shop that was originally a chicken coop before it became her quilt shop.

and then she sent me the pictures of simply color that had just gotten there at the beginning of the month to her shop.
personally i want to get some adirondack chairs and camp out on her little patio reading a book and hand binding quilts. man i wish i could have her come over here and make my yard look like that. oops. okay i got off the subject! okay well check out her blog here oh my! and check out her dresden plate in simply color here too!
we've emailed a couple of times and she just told me that she has been getting so many emails and  orders from all over germany, switzerland, austria, and italy.
0_o well.
that makes me super happy!!!
oh and pssst: she just told me she wants the full next line as well. so all you europeans sending me emails and asking where to get it: check her out 
thank you Grete for sending me pictures!!  and your fun emails :]

next simply color love:  we have this lovely quilt made by samantha of making life prettier using alison of cluck cluck sew's pattern and my simply color layer cakes.
samantha did an excellent job! loooove it and i may need to make one this summer.  :)

quilt standing

then we have little miss anna of noodlehead. love anna, and love this quilt. :] anna knows my address and i constantly remind her that she has it and is welcome to send me any of her uber cute stuff she makes including her two adorable (should be my daughter's best friends) daughters.

ObmreLattice

another super fun simply color project with just the ombre solids is this beauty by the blue chair called ombre lattice :) very lovely!

ooooh but you guys have been working on your V and Co patterns as well! check out some of the latest put up on flicker!:
hangingthewash
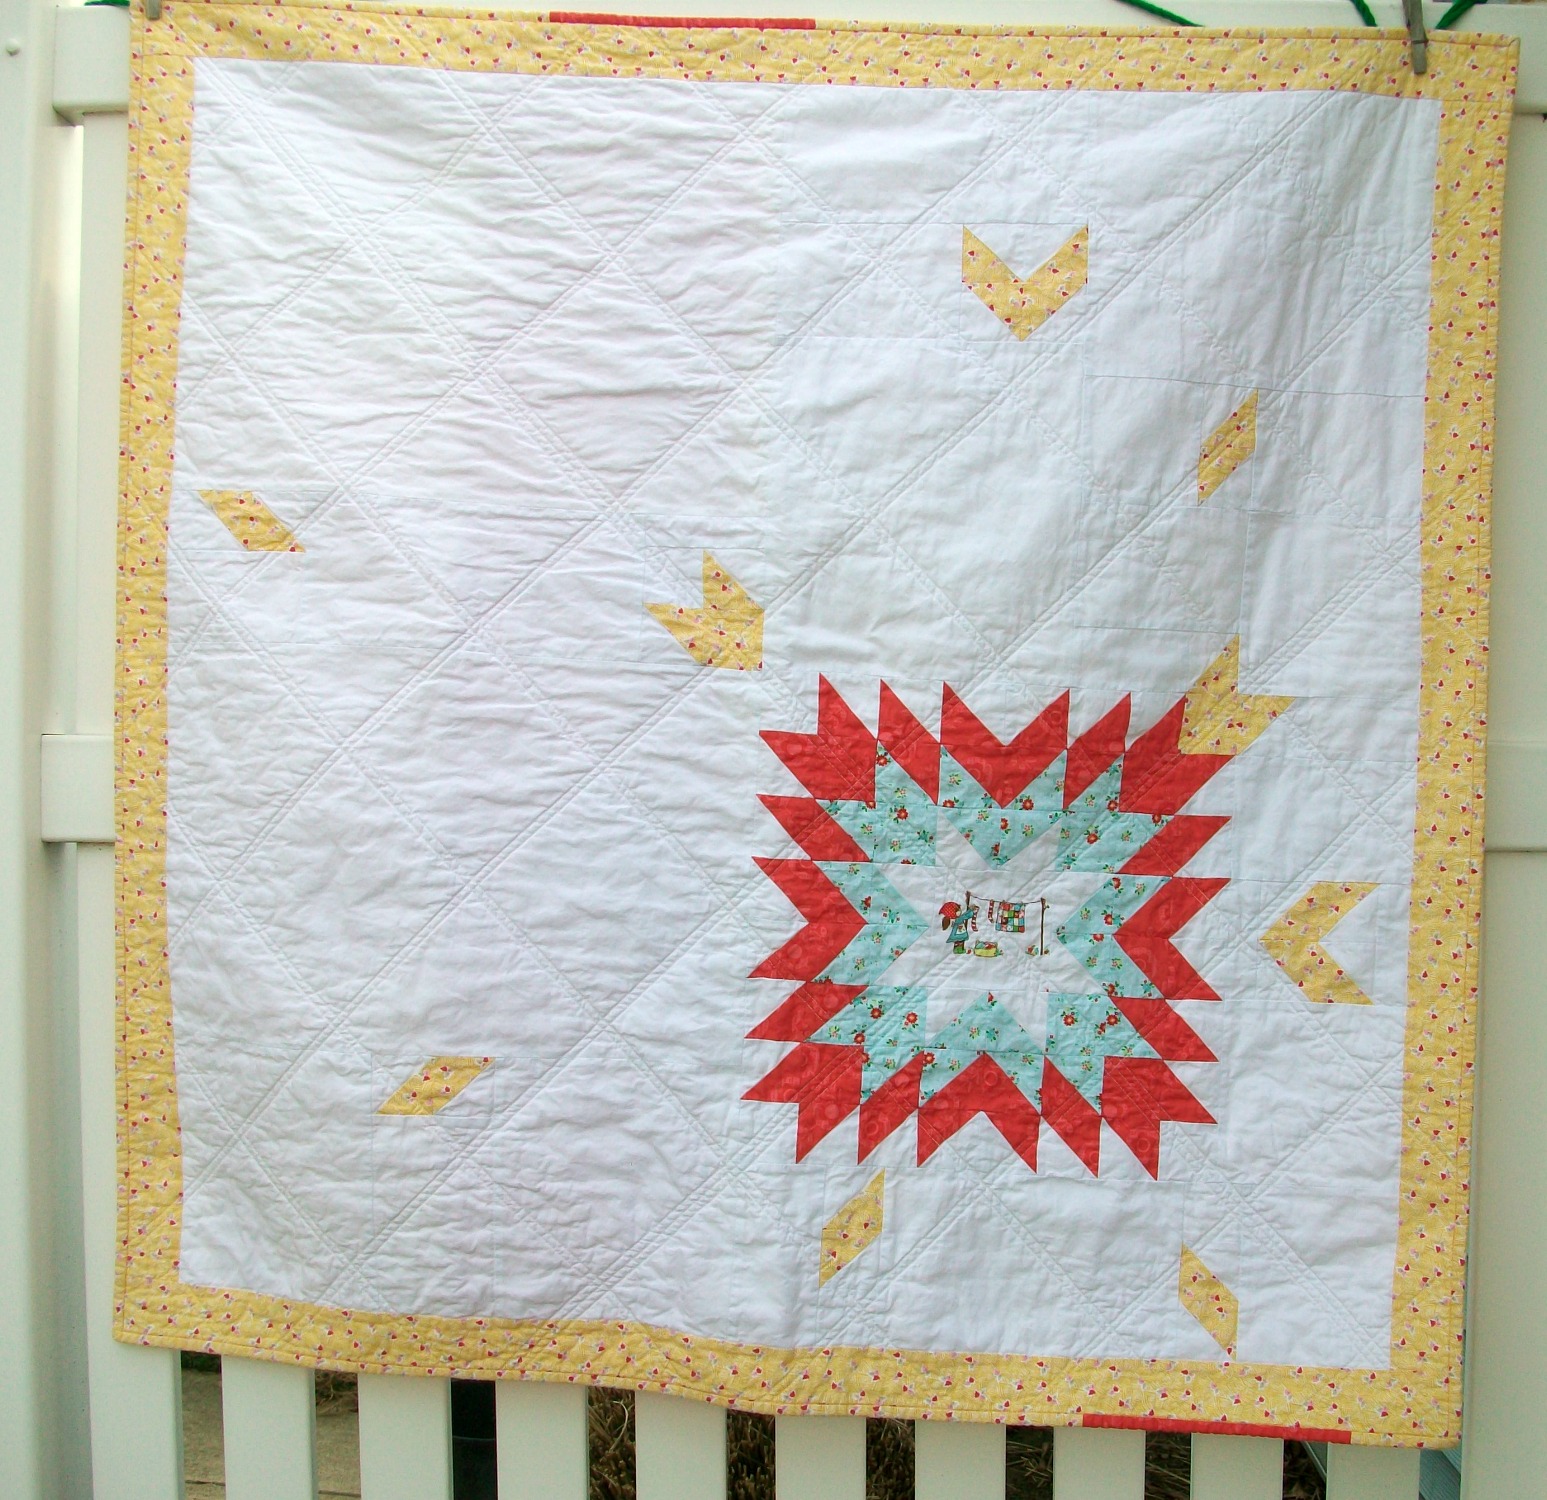
sha sha sha la rue's "hanging the wash" barn dance baby quilt is so SO cute, love the little gal in the center of the star, and also LOVE the little bit of POP of orange in her binding. very pretty.

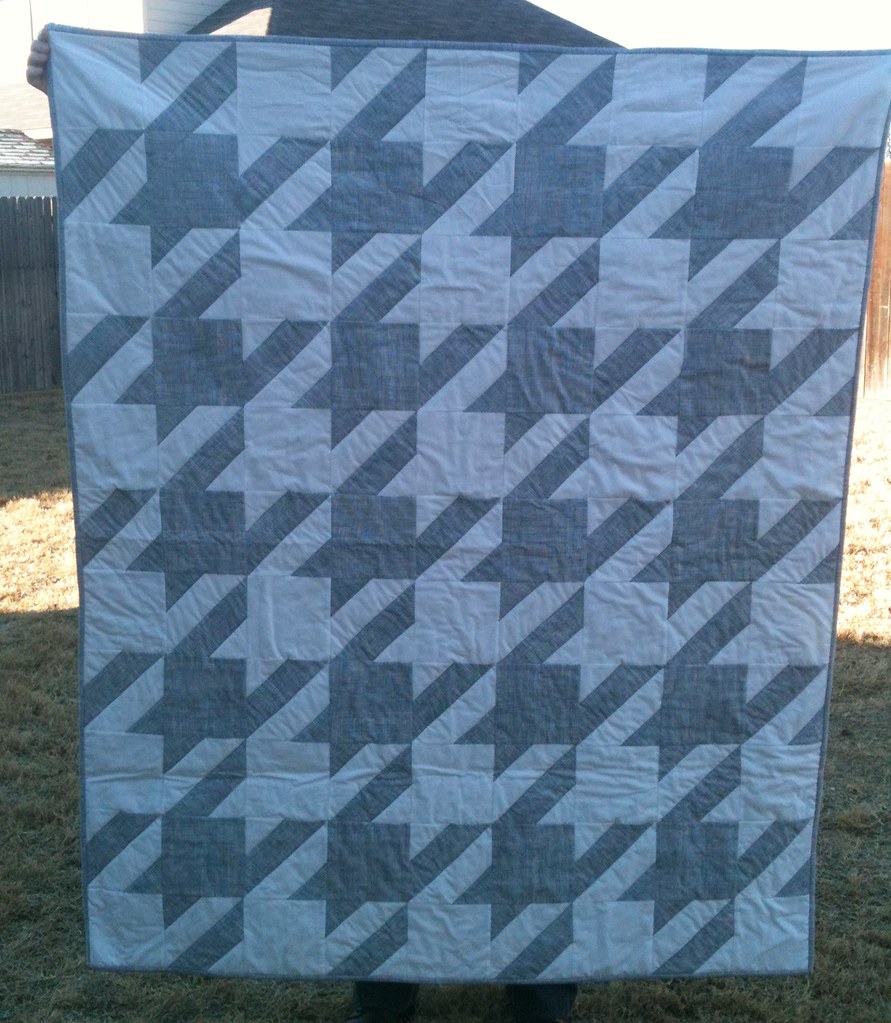
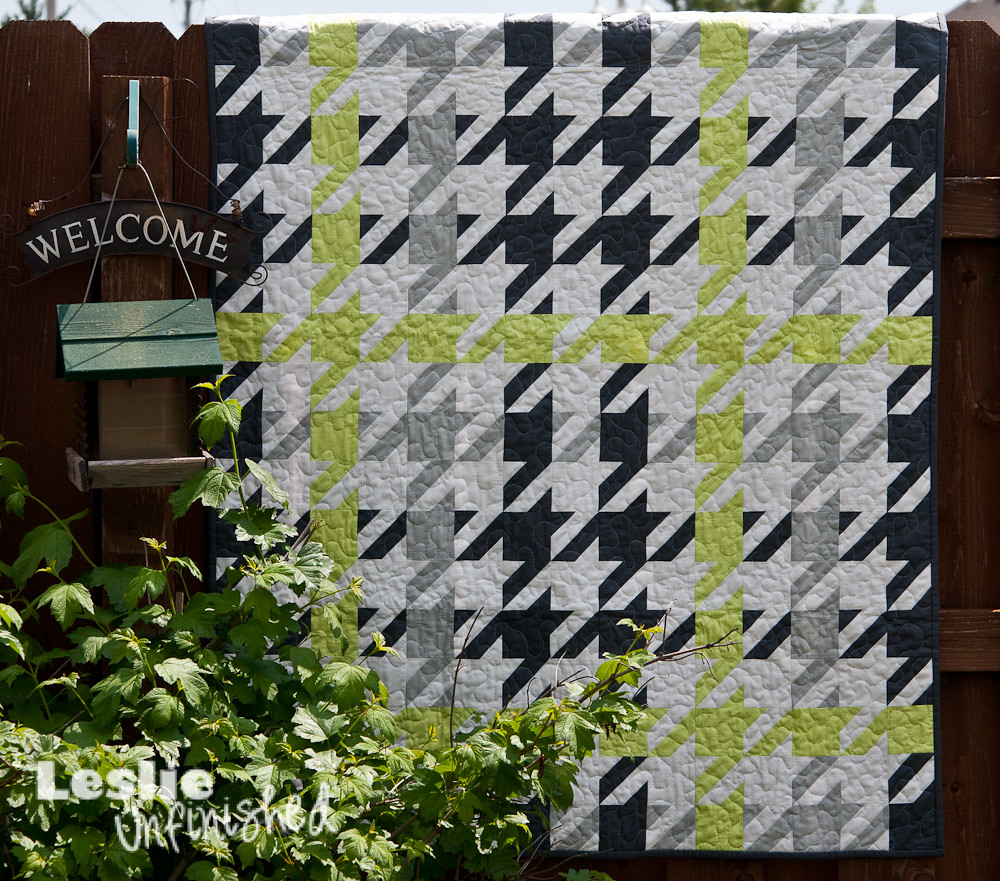
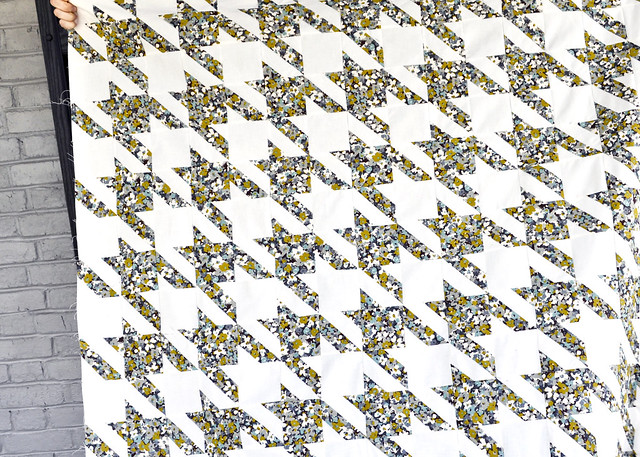
oh and all of you keep loving that houndstooth quilt:
Houndstooth quilt for my BFF

this one is marked as "for my BFF" by daisy spirits
and this one by leslie unfinished has got to be one of my faves with the pop of lime green. nicely done and love the way you set up the blocks!
Plaid Houndstooth Quilt
and this one by lindsay szechenyi is one that i love with print fabric. i want to make one with prints next i think.
Houndstooth Quilt Top

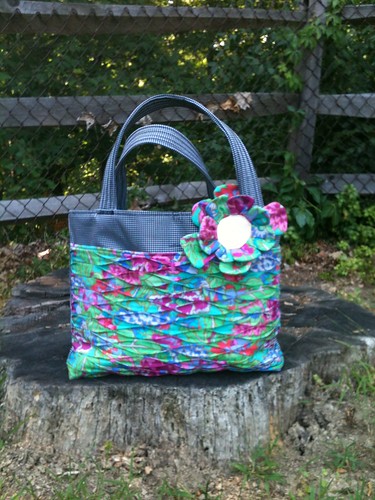
you guys are starting to show off your chelsea bags too!:
Summer Bag
love this one where you can see the texture perfectly! good job missy b 3!
and last but not least for this time around of show and tell:
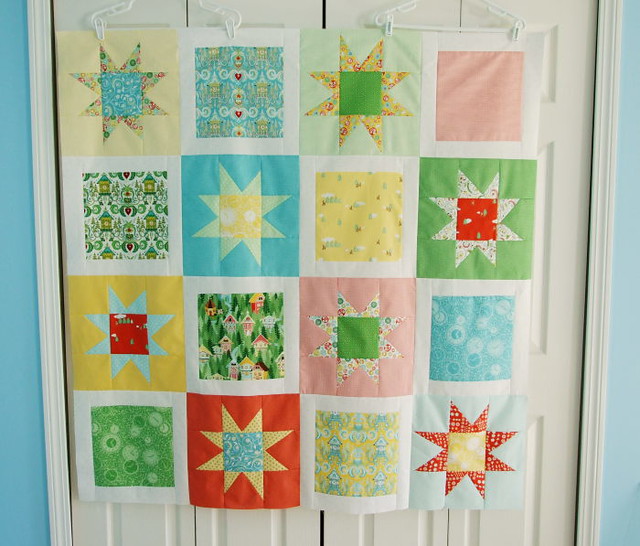
note's of sincerity's hopschotch quilt top:
hopscotch quilt top.
trish's color combos make me happy. she makes me happy too. she is so super sweet as is her color combos.

and well now back to doing my thing of catching up on the computer and BLOGGING holy moses i'm behind on that! i still need to tell you about my clark griswold sledding adventures. maybe tomorrow i'll get that up on the blog. :]
till next time!
we'll talk soon.

Friday, January 11, 2013

V and Co: introducing Simply Style for moda fabrics by V and Co


 here's my second line with moda fabrics! it's called simply style and will be available this february with the delivery date to stores of july.
i am super happy and excited about this line :)

 i've included (of course) my favorite-est colors of green, and blue and you can never go wrong with some gray, add some splash of eggplant, yellow and pink and well there you have what's included in my line.
you will see again quite a few of tone on tone, and some new great patterns that will be great to have in your stash or in your projects! i can't wait to show you what i have in store with this line! the patterns will be available soon...not yet but soon. :)

in this line you will again see a few colors in the ombre fabric. this time around we included navy, eggplant, aqua, gray, and green.
also another one of my favorite designs are the ombre chevrons:
i see skirts, little girl dresses, handbags,  back packs, pillows, pillow cases...and sooooo much more! what would you do with it??


are you ready?
i'm soooo ready to show you what i have created with this line.
but really I CANT WAIT to see what YOU guys do with it!!!
Blog Widget by LinkWithin